The SV's engine has many virtues. It's slim, powerful, torquey and smooth but maintenance is a bit tricky. I've ridden the SV for 20,000 miles and a valve clearance check was overdue.
The engine is a double overhead camshaft design with four valves per cylinder. Valve adjustment is by shims under buckets. This is the same as my CBF (My FJ has shims over buckets which makes things much easier) I've adjusted bikes with this arrangement and it's ok so long as you're comfortable about taking engines apart - the camshaft needs to be removed to if you have to replace the shims.
 |
| Shim under & over bucket |
The problem with the SV is access. The front cylinder head is obscured by the radiator and the rear cylinder lives deep inside the frame. I think that checking the gaps should be straightforward but adjustment less so. When you remove the cams you have to remove the cam chain tensioner and access seems tricky.
 |
| Looks tight. Note radiator with flaking paint. |
 |
| I bought a new set of feeler gauges |
 |
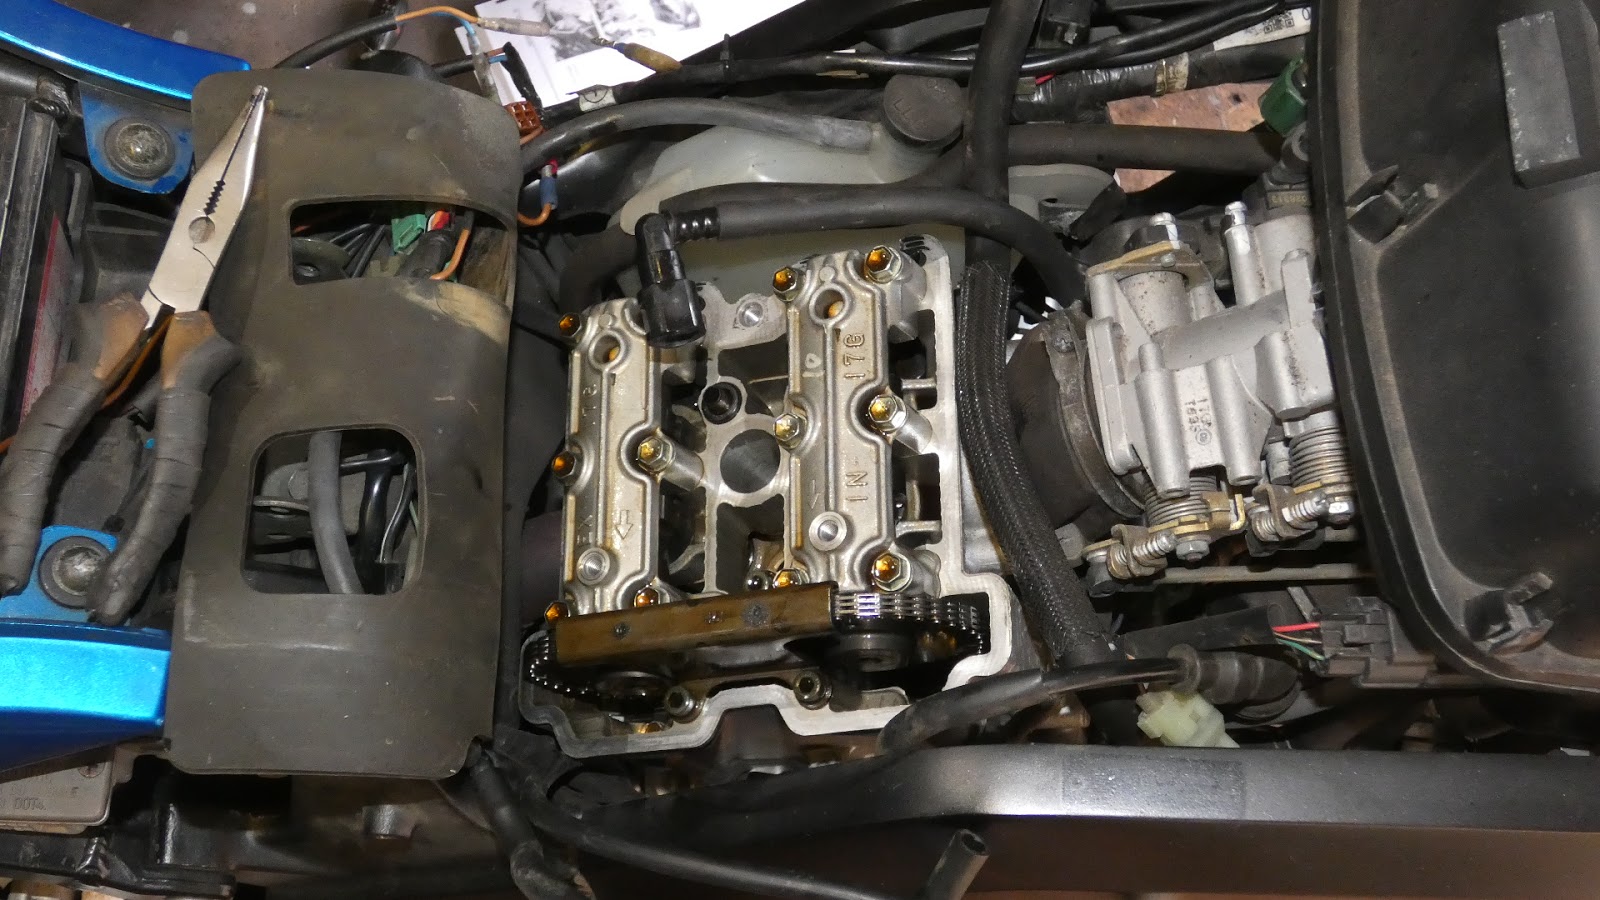
| It was reasonably easy to get to the valves |
 |
 |
| The measured clearances |
You might be surprised that the clearances are on the low side. You might assume that clearances would tend to get larger due to wear on the camshaft and followers. But I think in modern engines with good oil the rate of wear is negligible. What happens is that the valve bashes it way into the head (very slightly) thus reducing the gap.
 |
| I removed the airbox to get acces to..... |
 |
| The cam chain tensioner. |
I found a guide on the web and it turns out you don't have to remove the tensioner. You can remove the spring and release the ratchet that prevents the plunger retracting.
 |
| Tensioner spring & bolt |
 |
| I'm starting with the front cylinder. I've removed the cams, buckets and shims. Note duster to prevent anything falling into the engine. |
 |
The shims have their size marked on them but this
has been mostly worn off. I use a micrometer to measure them.
|

My calculation sheet. (dimensions in 1/100 mm) Here I work out what shim to fit to get the correct clearance. The valves that are in spec but near the lower limit will get a shim one size (0.05mm smaller) this will bring them into the middle of the range. I'm do this because it will hopefully mean that they are less likely to go out of spec in the future.
I'm swapping all four shims but only have to buy two since the two from the exhaust valves can be used on the inlet valves.
At this point you might expect me to do the rear cylinder. But its checked with the crankshaft in a different position and I'm loath to turn the engine with the cams out. I'll wait until I've got & fitted the new shims before working on the rear. This makes the job slower but I think worth it.
I got a pair of new shims and installed them. The existing shims from the exhaust valves went into the inlets and I put things back together. I checked the clearance and they're all now in spec.

The rear cylinder is a repeat of the front cylinder. This time the tensioner bolt is hidden behind the frame. I removed the footrest hangers and I can get to the bolt by feel.
As with the front, two of the clearances were tight and two were on the low end of the spec range. Again I decided to put in shims two sizes smaller (0.10mm) into the valves out of spec and one size smaller (0.05mm) in those on the bottom end of the range to get them in the middle of the range.
 |
A tip I got from a Youtube video was to zip tie the cam
chain to the can sprockets to keep the timing from going out.
|
Again I ended up with a set of valves with in-spec clearances. I now put everything back together and I'm good to go.
 |
| I sprayed the radiator before re-fitting |
The bike is all back together and running fine. The next check is in 15,000 miles or about 3 years of riding. Experience tells me that once set the clearances are likely to stay in spec. The job was a bit of work but not as bad as I had feared.
No comments:
Post a Comment